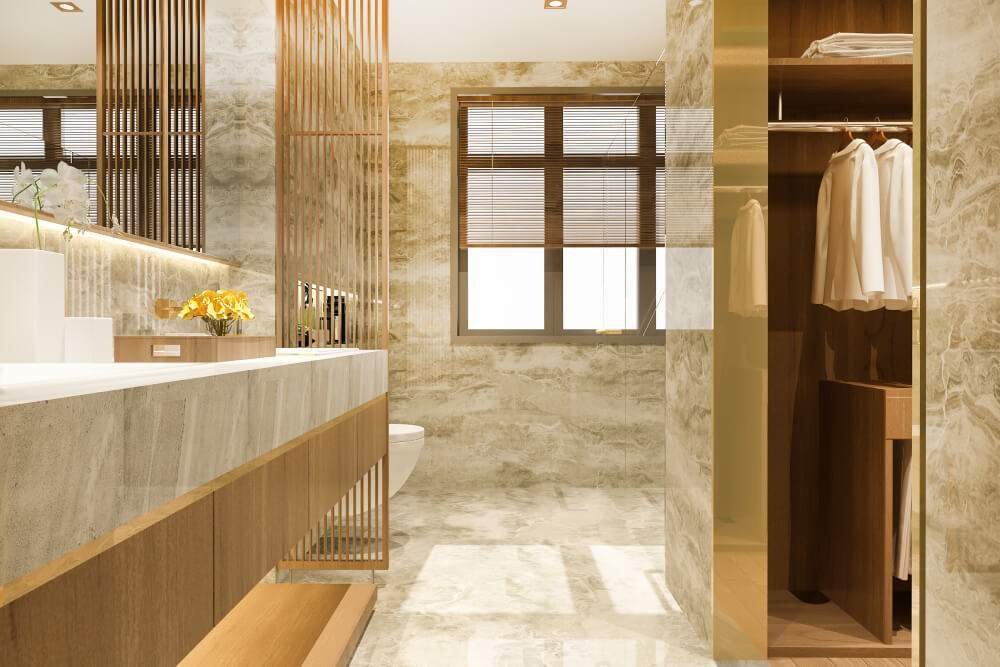
Transform Your Maroubra Bathroom: Tile Over Existing Floors
Considering an upgrade? Learn the expert techniques for tiling over old bathroom floors. Achieve a stunning new look without the hassle of full demolition.
Typical builds complete in 12–18 days after materials arrive · Transparent pricing · Daily progress updates
Mastering Bathroom Floor Tiling Over Existing Surfaces Guide
Tiling a bathroom floor over existing tiles involves laying new tiles directly onto a pre-existing tiled surface, effectively bypassing the often messy and time-consuming process of demolition. This approach can be a highly efficient and less disruptive renovation method for homeowners in Maroubra, offering a refreshed aesthetic and modern update without extensive upheaval. However, it requires careful preparation and strict adherence to specific steps to ensure a long-lasting, watertight, and professional finish, particularly given the moisture-rich bathroom environment.
For those wondering how to tile a bathroom floor over existing tiles, this comprehensive guide from A & H Tiling Group provides all the essential information. We’ll meticulously walk you through the critical assessment, rigorous preparation, and precise installation phases, ensuring you understand the complexities and prerequisites for a truly successful project. While DIY is an attractive option, understanding when to call in a professional tiling group like ours is paramount to avoiding costly mistakes and achieving flawless, guaranteed results.
Essential Pre-Tiling Checks: Ensure Solid Foundation Success
Before considering how to tile a bathroom floor over existing tiles, a thorough inspection of the current floor is paramount. According to industry experts, the existing tiles must be unequivocally firmly attached to the subfloor, free from any cracks, looseness, or instability. Tapping each tile with a mallet is a crucial test; a hollow sound indicates a loose tile that absolutely needs removal and re-securing with fresh thin-set mortar before proceeding with any new installation.
Another critical step involves checking the floor’s levelness and for any signs of moisture. Use a four-foot level to identify high spots which must be ground down, and voids filled with levelling compound. Most importantly, ensure no existing or suspected moisture issues or leaks are present, as these can severely compromise the new installation. Utilize a moisture meter to confirm dry conditions, as persistent dampness will undermine any tiling efforts, leading to eventual failure.
Success lies in rigorous initial assessment: perfectly stable, level, and dry existing tiles are non-negotiable for a durable new layer.
Gathering Your Tools and Materials for Tiling
Having the correct tools and high-quality materials is essential for how to tile a bathroom floor over existing tiles. You’ll need key items like a multi-purpose cleaner, 80-grit sandpaper or a belt sander to roughen surfaces, and a bond-promoting primer (e.g., ECO Prim Grip). For the new tiles, select a high polymer modified thin-set mortar or an S1 tile adhesive specifically designed for tile-on-tile application, as this ensures superior adhesion and flexibility.
Beyond adhesives, ensure you have your new ceramic or porcelain tiles, tile spacers for uniform grout lines, and a suitable grout. Essential tools include a notched trowel (sized for your new tiles), a tile cutter or wet saw for precise cuts, a rubber float for grouting, and sponges for cleanup. Always prioritise safety with glasses, dust masks, and gloves. Having all components ready streamlines the process and ensures an efficient, professional tiling experience.
Bringing Your Dream Designs to Life
Why choose us?
Your comfort, convenience, and peace of mind come first. We combine craftsmanship with a user‑friendly process so you enjoy the journey as much as the result.
Proven expertise
- 25+ years delivering quality bathroom builds
- Specialists in small‑space and heritage updates
- Technical precision for durable, hotel‑clean finishes
Licensed, insured, verified
- NSW licensed and fully insured
- Police‑checked professionals
- Clear documentation and compliance
Transparent & reliable
- Up‑front pricing – no budget surprises
- Daily updates and clear timelines
- Respect for your home: clean, careful, on‑time
Waterproofing you can trust
- AS 3740‑compliant membranes
- Flood testing with photo records
- Manufacturer‑aligned installation methods
Design support
- Layout and storage planning
- Tile, fixture, and lighting selections
- Accessibility and future‑proof options
Smooth project delivery
- Single point of contact
- Coordinated trades and scheduling
- Tidy site, minimal disruption
Step-by-Step Preparation: Key to Lasting Tiled Floors
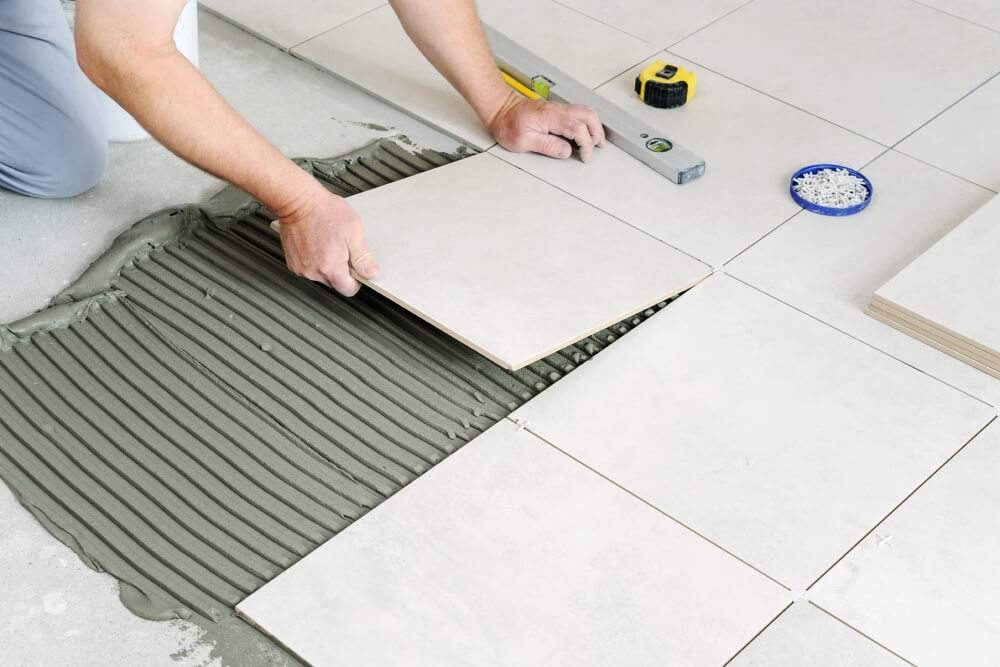
Proper surface preparation is the cornerstone of how to tile a bathroom floor over existing tiles, directly influencing the longevity and integrity of your new floor. Begin by thoroughly cleaning the existing tiles, removing all dirt, grime, wax, and sealers. A powerful multi-purpose cleaner, like T.S.P. or sugar soap, followed by a clean water rinse and complete drying, is crucial. This step ensures no contaminants impede the new adhesive’s bond.
Next, the existing tile surface must be roughened to create a mechanical bond for the new adhesive. Sand all tiles with 80-grit sandpaper until the glaze is sufficiently scratched, then vacuum away all dust. If significant grout lines or unevenness exist, apply a thin layer of self-leveling compound or thin-set to create a perfectly flat base. Finally, apply a high-quality bond-promoting primer, ensuring it dries completely as per the manufacturer’s instructions for optimal adhesion.
Applying Adhesive and Laying New Bathroom Tiles
With your surface meticulously prepared, the next phase in how to tile a bathroom floor over existing tiles involves adhesive application and tile laying. Select a high-quality, polymer-modified thin-set mortar or an S1 flexible adhesive, specifically designed for tile-on-tile applications. Mix the mortar according to the manufacturer’s instructions, ensuring a consistent, lump-free consistency. Work in small sections to prevent the adhesive from drying prematurely. Using a notched trowel appropriate for your tile size, spread the thin-set evenly over the prepared surface. For larger tiles, back-buttering the tiles (applying a thin layer of adhesive to the back) can enhance coverage and bond. Carefully place each new tile onto the wet mortar, pressing firmly and twisting slightly to ensure full contact. Use tile spacers to maintain uniform grout lines. Periodically check for levelness and adjust as needed, wiping away excess adhesive promptly with a damp sponge.
Grouting and Sealing: The Final Tiling Steps
The final crucial steps in how to tile a bathroom floor over existing tiles involve proper grouting and sealing, which are vital for protecting your new floor and ensuring its longevity. Once the thin-set mortar has fully cured (typically 24-48 hours, depending on product specifications and environmental conditions), remove all tile spacers. Mix your chosen grout according to the manufacturer’s directions to achieve a smooth, workable paste. Using a rubber float, press the grout firmly into the joints, working diagonally across the tiles to ensure full penetration and compaction. Scrape off excess grout from the tile surface with the float. After a brief setting time (when a haze appears), clean the tiles with a damp sponge, rinsing it frequently. Once the grout has completely cured (usually 24-72 hours), apply a high-quality grout sealer to protect against moisture, stains, and mildew, completing your durable new bathroom floor.
TESTIMONIALS
What Our Client's Have Said
Trustindex verifies that the original source of the review is Google. Will and the team from A&H Tiling were exceptional from start to finish. Will is very experienced and had a solution to every problem. The quality of the work is outstanding and the bathroom looks premium. Communication and reliability from the team were excellent, couldn't ask for a better experience!Trustindex verifies that the original source of the review is Google. Thank you so much Faye and will also they team are legends and simply get in and get the job done for the right price. From start to finish they are very highlights professionalism and very high quality also A100% workmanship and good communication helpful, efficient and provide solutions that fit the budget. Highly recommend. I really appreciate it 🙏Trustindex verifies that the original source of the review is Google. We had Will come in recently to regrout our whole Bathroom and Laundry and Ensuite wall and floor are very pleased with the results. He is a true professional and skilled tradesman with great attention to detail. He is great to deal with, answered all our questions and provided good honest advice and pricing. Would highly recommend his services to anyone looking for regrouting thank you so much again 🙏Trustindex verifies that the original source of the review is Google. Very happy with A & H. The level of attention I received prior to the job is unheard of, and it became very apparent that they would only do the job if it was going to look great! I made changes based on their recommendations and I am very happy with the results. Thanks guysTrustindex verifies that the original source of the review is Google. I Would like to give you the thumbs up on the recent balcony and Splash back kitchen and my bathroom also you did for me. I found your knowledge very uplifting and calming. I would recommend to anyone who may be in need of tiling and waterproofing work. Very affordable, and extremely clean work too wow I really appreciate it guys 😊Trustindex verifies that the original source of the review is Google. Incredibly helpful with repairing some defects in the existing tile job in my kitchen, offering me a range solutions to allow me to chose an option that worked for me without breaking the bank. Once I called A+H after spending weeks trying to find a tiler everything happened quickly and efficiently without any more stress.Trustindex verifies that the original source of the review is Google. 5 stars 100%, I was very impressed with Faye's and will's work, they removed old bathroom, designed a new bathroom for me, the design was great, the workmanship was outstanding, Faye and will they was very polite and well spoken, I would highly recommend Faye and will to anyone who needs any bathroom renovations or work done, I was very happy with the price, great job Faye and will believe me if there is more than 5 stars 🌟 I will give you for sure I really appreciate it God-bless 🙏 ❤Trustindex verifies that the original source of the review is Google. Impeccable work I very highly recommend to everyone they were friendly and knowledgeable helping me every step of the way. Very clean and tidy 5 star serviceTrustindex verifies that the original source of the review is Google. Amazing customer service and they worked very very well. Definitely recommend to anyone who needs a renovationTrustindex verifies that the original source of the review is Google. We cannot thank Will and his team enough, for the timely manner and professionalism they showed when tiling our newly renovated bathrooms. They welcomed and answered all our questions and exceeded our expectations.
Our specialist services
Whether it’s a compact ensuite, a family bathroom, or a combined laundry, we plan for daily comfort, easy cleaning, and lasting quality.
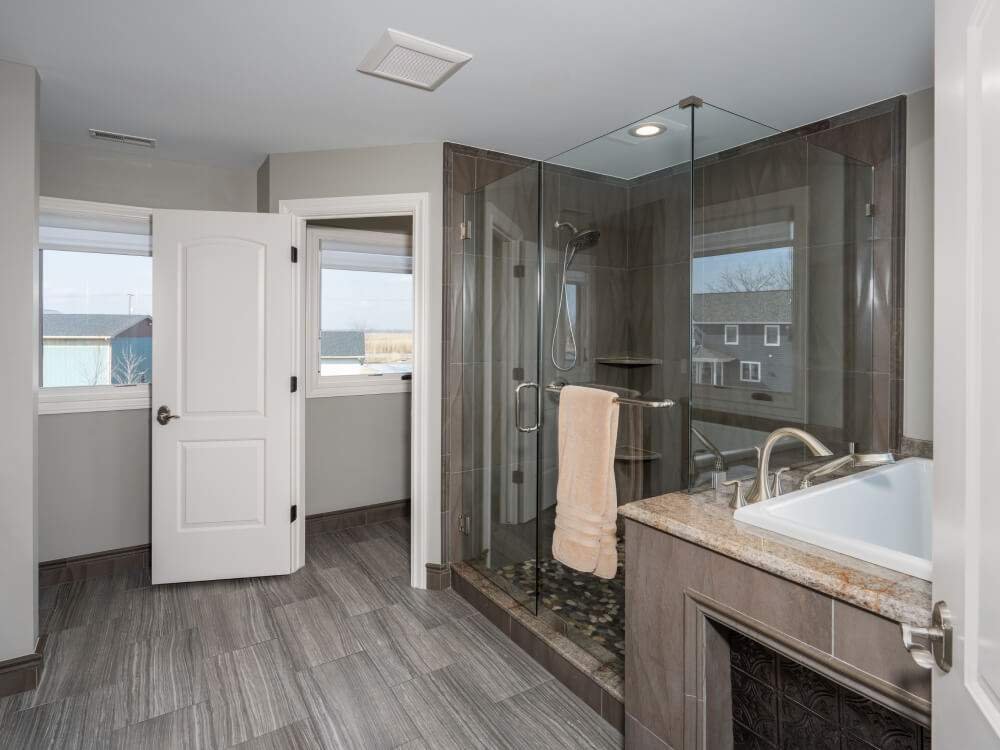
Full bathroom renovations
Complete strip‑out and rebuilds tailored to your layout, lifestyle, and budget. One team coordinates everything so you have a single point of contact.
- Layout updates where feasible
- Licensed plumbing & electrical
- Modern lighting & ventilation
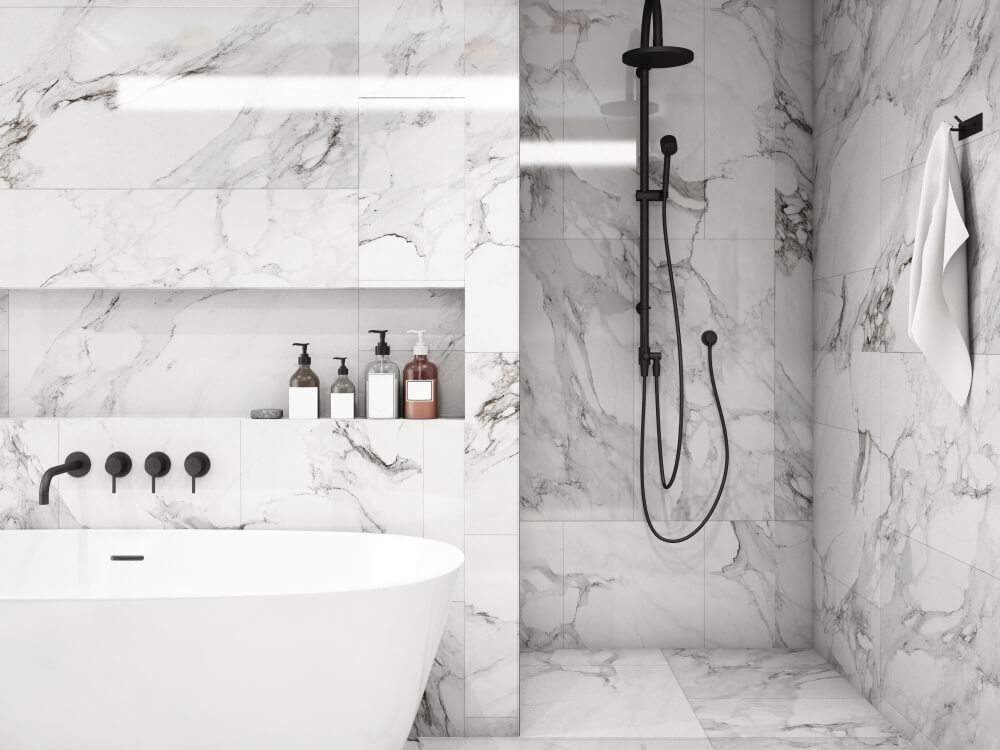
Waterproofing & tiling
AS 3740‑compliant membranes, flood testing, and precision tiling for floors, walls, showers, and niches.
- Porcelain, ceramic, natural stone
- Herringbone, stacked, large‑format
- Correct falls to waste
Vanities, storage & mirrors
Smart storage that fits your routine and maximises usable space. We fit vanities, shaving cabinets, and mirrored storage with care.
- Wall‑hung, floor‑standing, custom
- Moisture‑safe finishes
- Task lighting around mirrors
Shower screens & baths
Frameless, semi‑frameless, or custom screens installed for a watertight, safe, and low‑maintenance shower area.
- Walk‑in showers & linear drains
- Inset or freestanding baths
- Anti‑slip floor options
Small bathroom specialists
We optimise tight spaces with clever layouts, sliding doors, mirrored storage, and light‑enhancing materials.
- Space‑saving fixtures & niches
- Bigger tiles, fewer grout lines
- Wall‑hung toilets & vanities
Laundry & combo spaces
Combine laundry functionality without sacrificing style. Durable, easy‑clean finishes that suit daily life.
- Under‑bench appliance integration
- Water‑resistant cabinetry
- Smart ventilation
Accessibility & safety
Future‑proof features that enhance safety and independence while keeping a clean, modern look.
- Walk‑in showers & wider clearances
- Grab rails & anti‑slip selections
- Thermostatic mixers
Upgrades & repairs
Targeted improvements when a full renovation isn’t required — refresh fixtures, re‑silicone, re‑tile, or repair leaks and damage.
- Shower re‑seals & leak fixes
- Tile repairs & re‑grouting
- Fixture & lighting upgrades
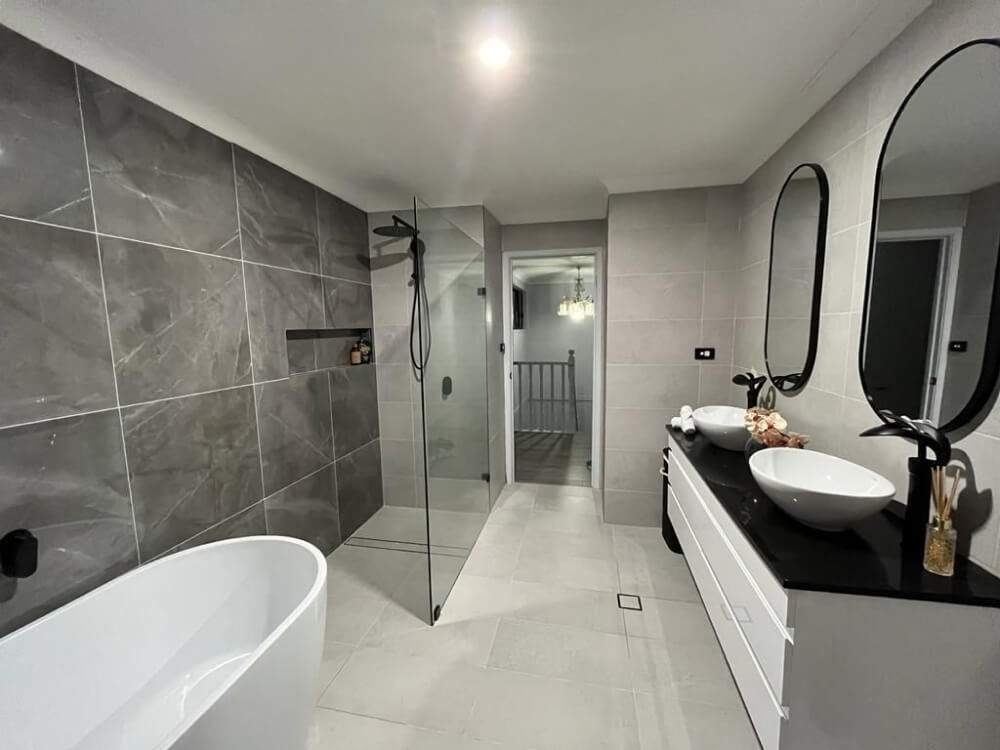
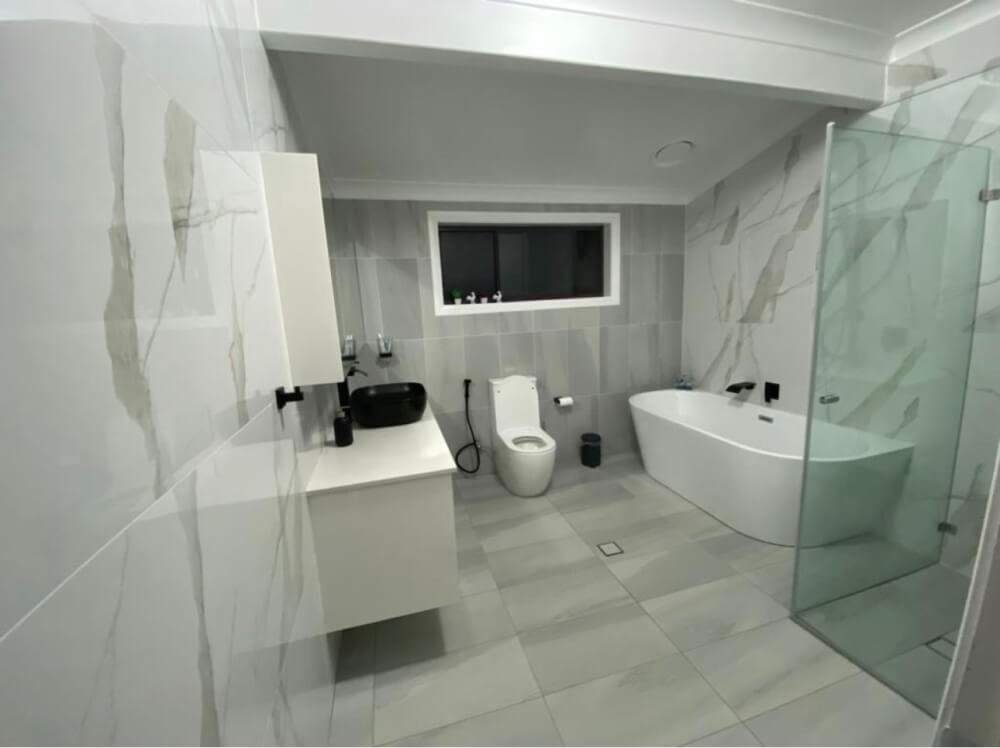
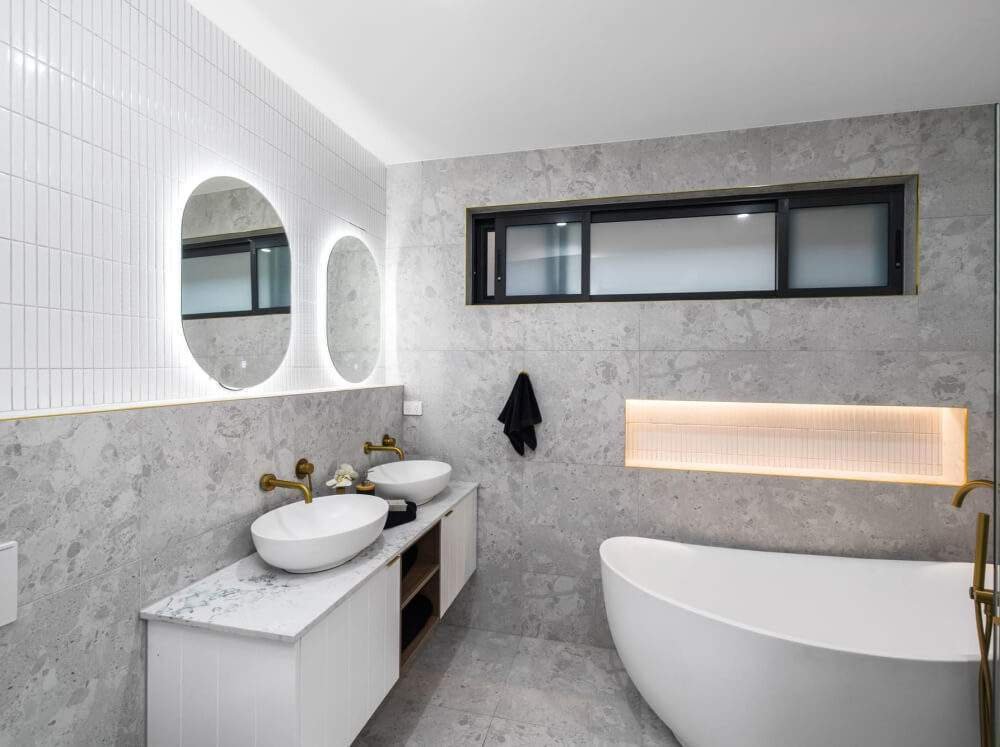
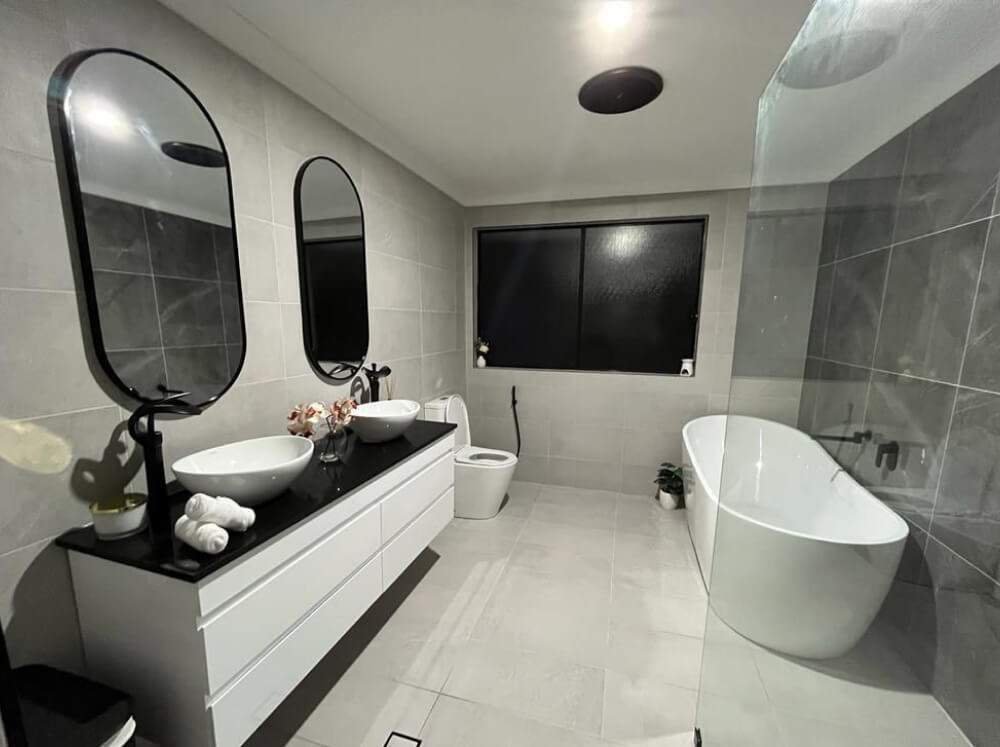
Professional Tiling Solutions for Your Maroubra Home
Let A & H Tiling Group handle your bathroom renovation with expertise. Enjoy a seamless, durable finish without the DIY stress.
From affordable bathroom remodels to high-end bath design, we’re your expert partner in bathroom renovations Sydney-wide. Let’s design a space that feels refreshing, refined, and undeniably yours.
Proudly servicing Maroubra & Randwick homes for over 25 years
Bringing Your Dream Designs to Life
Professional Tile Services
Wall & Floor Tiling
Elevate your space with our impeccable wall and floor tiling services, adding sophistication and durability to every corner of your home or business.
Bathroom Tiling
Immerse yourself in luxury with our bathroom tiling solutions, tailored to your style preferences and designed to transform your bathroom into a serene oasis.
Kitchen Tiling
Ignite inspiration in your culinary haven with our kitchen tiling expertise, combining functionality and elegance to create the perfect backdrop for your culinary adventures.
Outdoor Tiling
Extend your living space into the great outdoors with our outdoor tiling mastery, crafting inviting patios, pathways, and entertainment areas that seamlessly blend with nature.
Bathroom Renovations
Reimagine relaxation and rejuvenation with our comprehensive bathroom renovation services, where every detail is meticulously planned and executed to exceed your expectations.
Waterproofing
Safeguard your investment and peace of mind with our expert waterproofing solutions, ensuring long-lasting protection against moisture and water damage for your property's surfaces.
Serving Maroubra and Nearby Eastern Suburbs with Excellence
A & H Tiling Group proudly offers exceptional bathroom tiling services not only in Maroubra but also extends its expertise to surrounding areas.
- South Coogee,
- Malabar,
- Matraville,
- Hillsdale,
- Pagewood,
- Kingsford,
- Randwick,
- Coogee
Homeowners can rely on our skilled team for professional, high-quality tiling solutions, whether it’s tiling over existing floors or a complete new installation. We understand the unique architectural styles and specific needs of the Eastern Suburbs, ensuring tailored service for every project.
Frequently Asked Questions About Tiling Over Existing Floors
Can I tile over existing tiles in a shower area?
Tiling over existing tiles in a shower is generally not recommended due to the high moisture environment and the critical need for an intact waterproofing membrane. Any existing issues like cracks or leaks can be exacerbated. It’s best practice to strip back to the substrate to properly inspect and apply a new waterproofing layer before tiling a shower.
What type of adhesive is best for tiling over old tiles?
For tiling over existing tiles, it’s crucial to use a high-performance, polymer-modified thin-set mortar or an S1 flexible tile adhesive. These adhesives offer superior bond strength and flexibility, accommodating any minor movement and ensuring strong adhesion to the existing glazed surface. Always check the manufacturer’s recommendations for ’tile-on-tile’ applications.
How do I prepare existing tiles before laying new ones?
Preparation is key. First, clean existing tiles thoroughly to remove all dirt, grease, and wax. Then, roughen the surface by sanding with 80-grit sandpaper to create a mechanical key. Fill any significant grout lines or uneven areas with a self-leveling compound or thin-set, and finally, apply a bond-promoting primer designed for tile-on-tile applications.
Will tiling over existing tiles significantly raise my floor height?
Yes, tiling over existing tiles will increase your floor height. You can expect an increase of approximately 3/8 inch to 1/2 inch (around 10-12mm), which includes the thickness of the new tile and the adhesive layer. Consider the impact on door clearances, baseboards, and transitions to adjacent rooms.
When should I hire a professional for tiling over existing floors?
You should hire a professional like A & H Tiling Group if the existing floor is uneven, has loose tiles, or if you suspect moisture issues. Professionals possess the expertise, tools, and materials to properly assess the subfloor, address potential problems, and ensure a durable, aesthetic, and compliant installation, especially in complex areas like bathrooms.
Contact
Ready for a beautifully tiled bathroom without the hassle? Contact A & H Tiling Group in Maroubra today for expert tiling services and a free consultation!
Servicing
Sydney wide
Call us
Work hours
Monday – Friday: 6am – 6pm
Saturday: 7am – 4pm
Sunday: 8am – 3pm
Quote form
Contact Info
Mobile Number
0402255970
Email Address
ahtilinggroup@gmail.com
Location
Sydney, NSW Maroubra, NSW Randwick, NSW Kensington, NSW
© All Rights Reserved By A&H Tiling Group
ABN: 18710527483
Licence No: 280994C